 |
| Pretty but plain |
Enter: Nailhead trim.
I love nailhead trim. Along with welting, button tufting, worn brown leather and small industrial-style wheels, nailhead trim almost immediately causes me to swoon and drool involuntarily (super sexy, right?). Something about it looks so classic, so clean and so luxe (the furniture nails, not me drooling). And, as I was wondering the vast expanse of a home improvement store the other day, I came across boxes of it in the hardware aisle.
Bwaaaah?!?! Amazingly, it had never crossed my mind that I could actually do it myself (let's face it, I'm a little slow on the uptake sometimes). And, for just over $1 a box, why not try it? The process was super easy and fairly quick.
 |
| I went with the rubbed bronze furniture nails but there are lots of other options! |
After buying enough for two chairs (I bought 8 boxes but used about 5.5), the next step was to figure out where the heck I wanted the nails. Confession time: I actually stressed So Much over this, that I left the unopened boxes sitting under the chair for weeks before actually figuring it was time to do just get it done. And the silly thing? You can remove them pretty easily if you hate them. My genius is staggering.
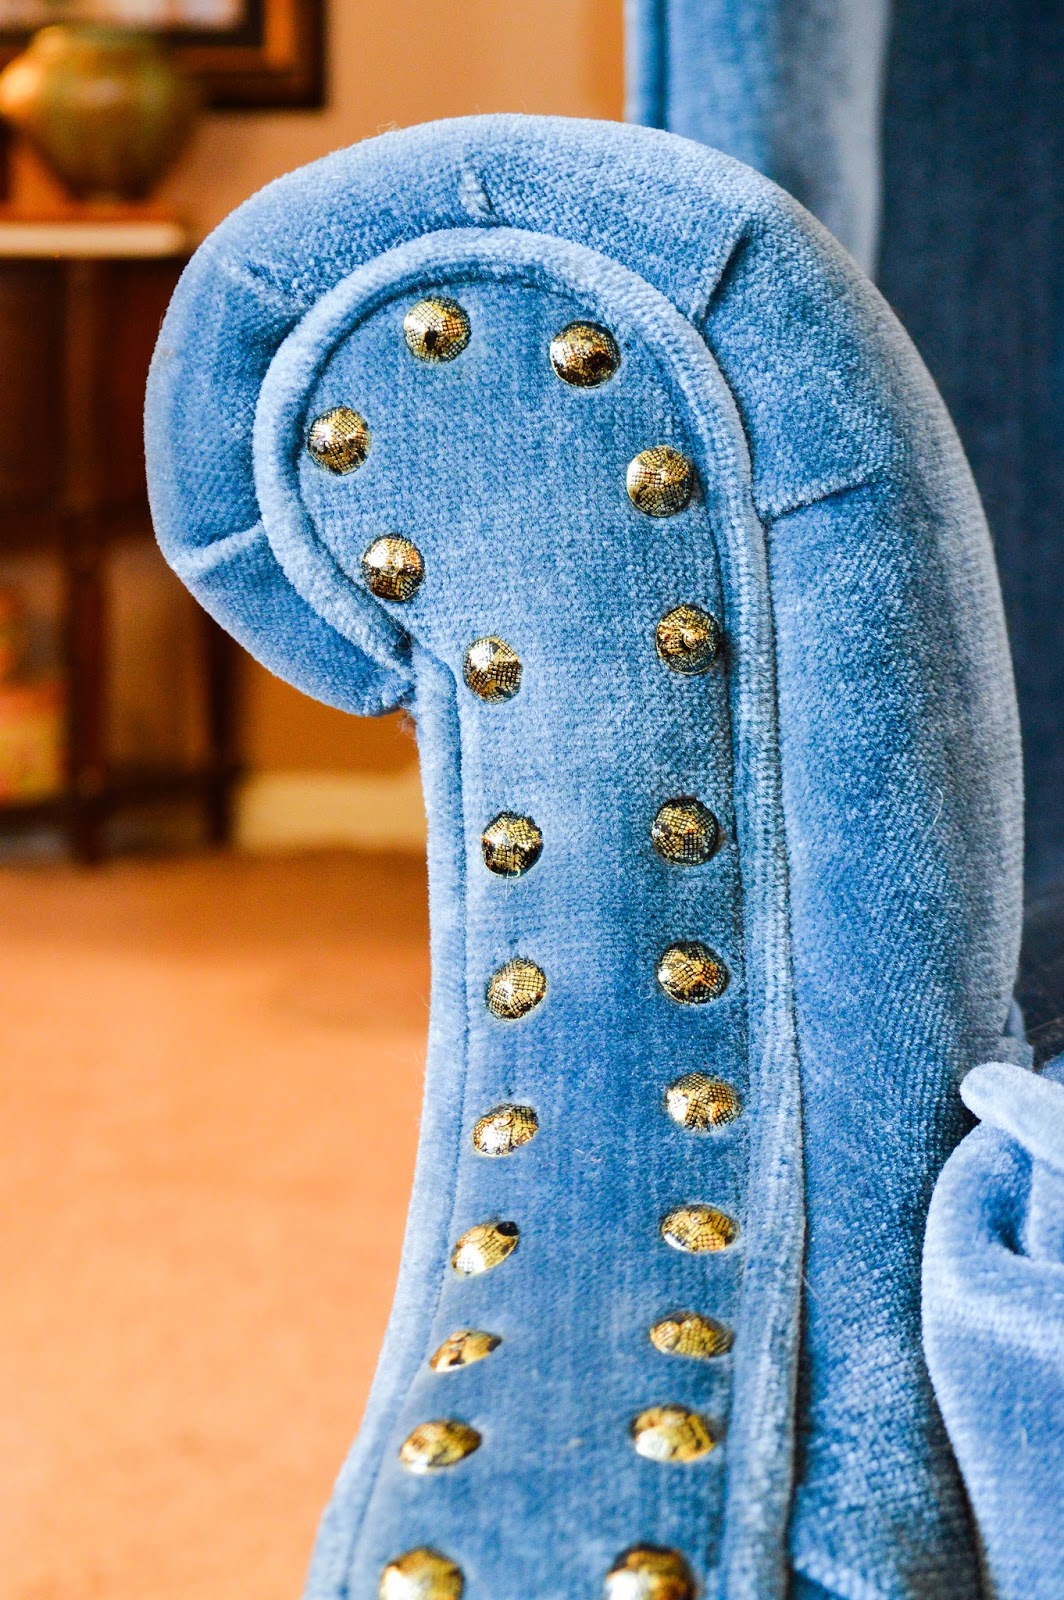
Ultimately, I decided that I would just border the flat of the arms - I can always add more later if I don't like it.
The rest was easy:
I used a sewing measuring tape to mark out regular intervals in pencil (a dull pencil actually works better than a sharp one, as the point doesn't break as easily).
Then, I simply tapped each in with a finish hammer and needle-nose pliers. Easy peasy!
I'm pretty pleased with the result. The whole change took less than $15, and it's the perfect amount of bling to add some interest! I may still make some additional changes - painting the legs, new throw pillows, and maybe even changing the color of the upholstery (yep! Just found out you can do that!), but, for now, it was the perfect solution to scratch that DIY itch! :)
 | |
| DIY Nailhead trim - I love the brass with the blue! |


